What Does the Yellow Light on Your Motherboard Mean? Understanding the Warning Light on Your PC
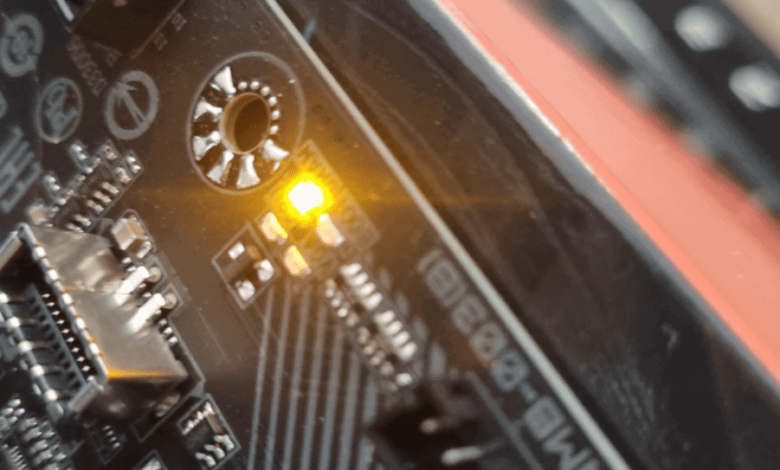
If you’ve recently built or upgraded your PC, you might have noticed a Yellow Light on Your Motherboard between the “VGA” and “Boot” labels. This yellow light on the motherboard can be confusing, especially if you’re unsure what it means or whether it signals a problem with your new setup. The good news is that it’s typically a diagnostic light designed to help you identify issues before your system fully boots.
The yellow light often indicates that your motherboard is in the process of checking components like RAM, storage devices, or even the power supply. While it can be alarming at first, in many cases, this light is harmless and doesn’t indicate a serious problem. However, if the light stays on or you face performance issues, it might be a good idea to investigate further or refer to your motherboard’s manual for more specific troubleshooting steps.
Understanding the Yellow Light on Your Motherboard: What It Really Means
When you first power up your PC and notice the yellow light on your motherboard, you might be worried. But don’t panic! The yellow light usually serves as a diagnostic tool, letting you know that your motherboard is checking the health of its components. This can include checking your RAM, storage devices, and other hardware.
The yellow light doesn’t always indicate a serious problem. In fact, it’s common during startup when your motherboard runs tests to make sure everything is working correctly. If the light turns off shortly after powering up your system, it’s probably a normal process. However, if it stays on, it’s worth looking into.
Most motherboards come with a manual that explains what different lights and codes mean. If you can’t find this in your manual, searching for the model number of your motherboard online will usually lead to helpful resources and forums where people have had similar issues.
Why Is the Yellow Light on Your Motherboard On? Key Causes to Know

The yellow light on your motherboard could be triggered by several things. One common reason is the motherboard’s attempt to check the health of your RAM. During boot-up, the motherboard runs diagnostics to verify that your RAM is correctly installed and functioning.
Another reason could be the SSD or hard drive. If your system doesn’t have an operating system installed, this light might stay on. This is because the motherboard is waiting to detect the necessary boot device to start your system. It’s also worth checking if your power supply is properly connected, as a weak or loose connection could cause issues.
Lastly, a BIOS issue might trigger the yellow light. If your motherboard is running outdated firmware or there is an error in its settings, it may cause the diagnostic light to stay on. Updating your BIOS to the latest version can often solve such problems.
How to Fix the Yellow Light on Your Motherboard: Simple Troubleshooting Tips
If you see a yellow light on your motherboard and it doesn’t go away, try the following steps to troubleshoot and resolve the issue. The first thing you should do is check all the connections. Make sure that your RAM, SSD, and other devices are properly seated in their respective slots.
- Re-seat RAM: Sometimes, simply removing and reinserting your RAM sticks can resolve the issue.
- Check Storage Devices: Make sure that your SSD or HDD is securely connected and working properly.
- Power Supply Check: A weak or improperly connected power supply could trigger a yellow light.
If these steps don’t work, consider updating your motherboard’s BIOS. Manufacturers regularly release updates that fix bugs and improve compatibility with newer hardware. This could be the solution if the light continues to stay on.
Yellow Light on Motherboard During Boot: Should You Be Concerned?
Not every yellow light on a motherboard is cause for concern. In most cases, the yellow light is just a sign that your motherboard is checking components during boot-up. However, if the light stays on for too long, it might indicate an issue.
One of the first things to check is the status of your RAM. If there’s an issue with the RAM or if it’s not seated properly, the motherboard may keep the light on until it passes the memory test. Try reseating the RAM and checking for dust or dirt on the contacts.
If the yellow light remains, you may want to check your BIOS settings or perform a BIOS update. Some motherboards also have reset buttons or jumper pins that you can use to reset the BIOS to default settings.
What to Do When the Yellow Light on Your Motherboard Won’t Turn Off
If your motherboard’s yellow light stays on after boot-up, here are some steps you can take to fix it:
1. Check Your RAM and Storage Devices
- Make sure your RAM sticks are properly installed.
- Inspect your storage devices for any loose connections.
2. Try a BIOS Update
- Visit the manufacturer’s website and check for the latest BIOS updates.
- Follow the instructions carefully to update your BIOS.
3. Inspect Your Power Supply
- Ensure that your power supply is delivering the correct power to the motherboard.
- If needed, try a different power supply.
If none of these fixes work, your motherboard could have a deeper issue that requires professional help. In this case, reaching out to customer support for your motherboard or taking it to a repair center is a good next step.
Common Fixes for the Yellow Light on Your Motherboard
If you encounter the yellow light on your motherboard, several fixes can help. Below are several of the most frequently encountered examples:
Re-seat Your Components
- RAM: Carefully remove and reinsert the RAM sticks into their slots.
- Storage Devices: Check that your SSD or HDD is connected securely to the motherboard.
Check Your BIOS
- If your motherboard is running an outdated BIOS, update it to the latest version.
- Reset your BIOS settings to default to see if that fixes the issue.
Ensure Power Supply Is Working
- A weak or improperly connected power supply could be causing the light to stay on.
- Double-check all power connections and consider testing with a different power supply if necessary.
By following these simple steps, you can often resolve the yellow light issue without much hassle.
Conclusion
In most cases, the yellow light on your motherboard is just a normal part of the startup process. It’s usually the motherboard checking your system’s components, like RAM and storage, to make sure everything is working correctly. If the light turns off shortly after starting up, you don’t need to worry. However, if the light stays on, it’s important to check your hardware and make sure everything is properly connected.
If troubleshooting simple things like reseating your RAM or updating your BIOS doesn’t solve the issue, it might be time to consult a professional. Always remember that the yellow light doesn’t always mean something is broken, but it’s worth looking into if it doesn’t go away. By following the steps mentioned, you can usually resolve the issue without much trouble.
FAQs
Q: What does the yellow light on the motherboard mean?
A: The yellow light usually means that the motherboard is running diagnostics on your system’s components, like RAM and storage.It’s a standard aspect of the startup procedure.
Q: Should I be worried if the yellow light stays on?
A: Not necessarily. If it stays on, it could mean there’s an issue with your RAM, storage, or power supply. Try checking those components first.
Q: Can I fix the yellow light issue myself?
A: Yes! You can try troubleshooting by reseating your RAM and checking the power supply and storage connections. A BIOS update may also help.
Q: Do I need to update my BIOS if I see the yellow light?
A: Updating your BIOS can sometimes fix issues related to the yellow light, especially if the motherboard firmware is outdated.
Q: What should I do if nothing works and the yellow light stays on?
A: If the light remains on despite your troubleshooting, it might be best to contact customer support or take your motherboard to a repair shop for further inspection.